
How to do Pigeon Pose with Pregnancy and Postpartum Modifications
Pigeon Pose (Eka Pada Kapotasana) can be considered either a kneeling or seated pose however unlike most seated poses you are not actually seated on your ischial tuberosities (sits bones) and unlike most kneeling poses you are not supported on your knees either. It is usually considered a seated pose because of being on the ground and a kneeling pose due to set up and some variations which keep your pelvis off the floor.
Whatever category you place it in Pigeon (and its many variations) is a hip opening pose. It primarily stretches the deep hip rotators of the front leg, specifically the piriformis and the hip flexors of the back leg targeting either the psoas or quadricep depending on variation. Hip openers such as pigeon are performed to improve posture, strength, flexibility and balance as well as for emotional releases as it is said our hips store many of our emotions. Energetically pigeon pose targets the root and sacral chakras.
Pigeon pose tends to be difficult since it requires both strength of the gluteal muscles and length of the deep hip rotators, a combination many are lacking due to poor posture and inactivity. Sitting for long periods of time contributes to the problem of weak hip extensors and tight hip rotators. Pigeon can also be difficult to access fully due to anatomical positioning. Not everyone’s hips have the same anatomical alignment; some people naturally have more access to external or internal rotation due to the positioning of their femoral head inside the hip socket. Another reason it can be difficult to sit in if you are able to achieve it is due to the emotions it can stir up which can be disconcerting if you are not prepared for it.
How to get into Pigeon Pose
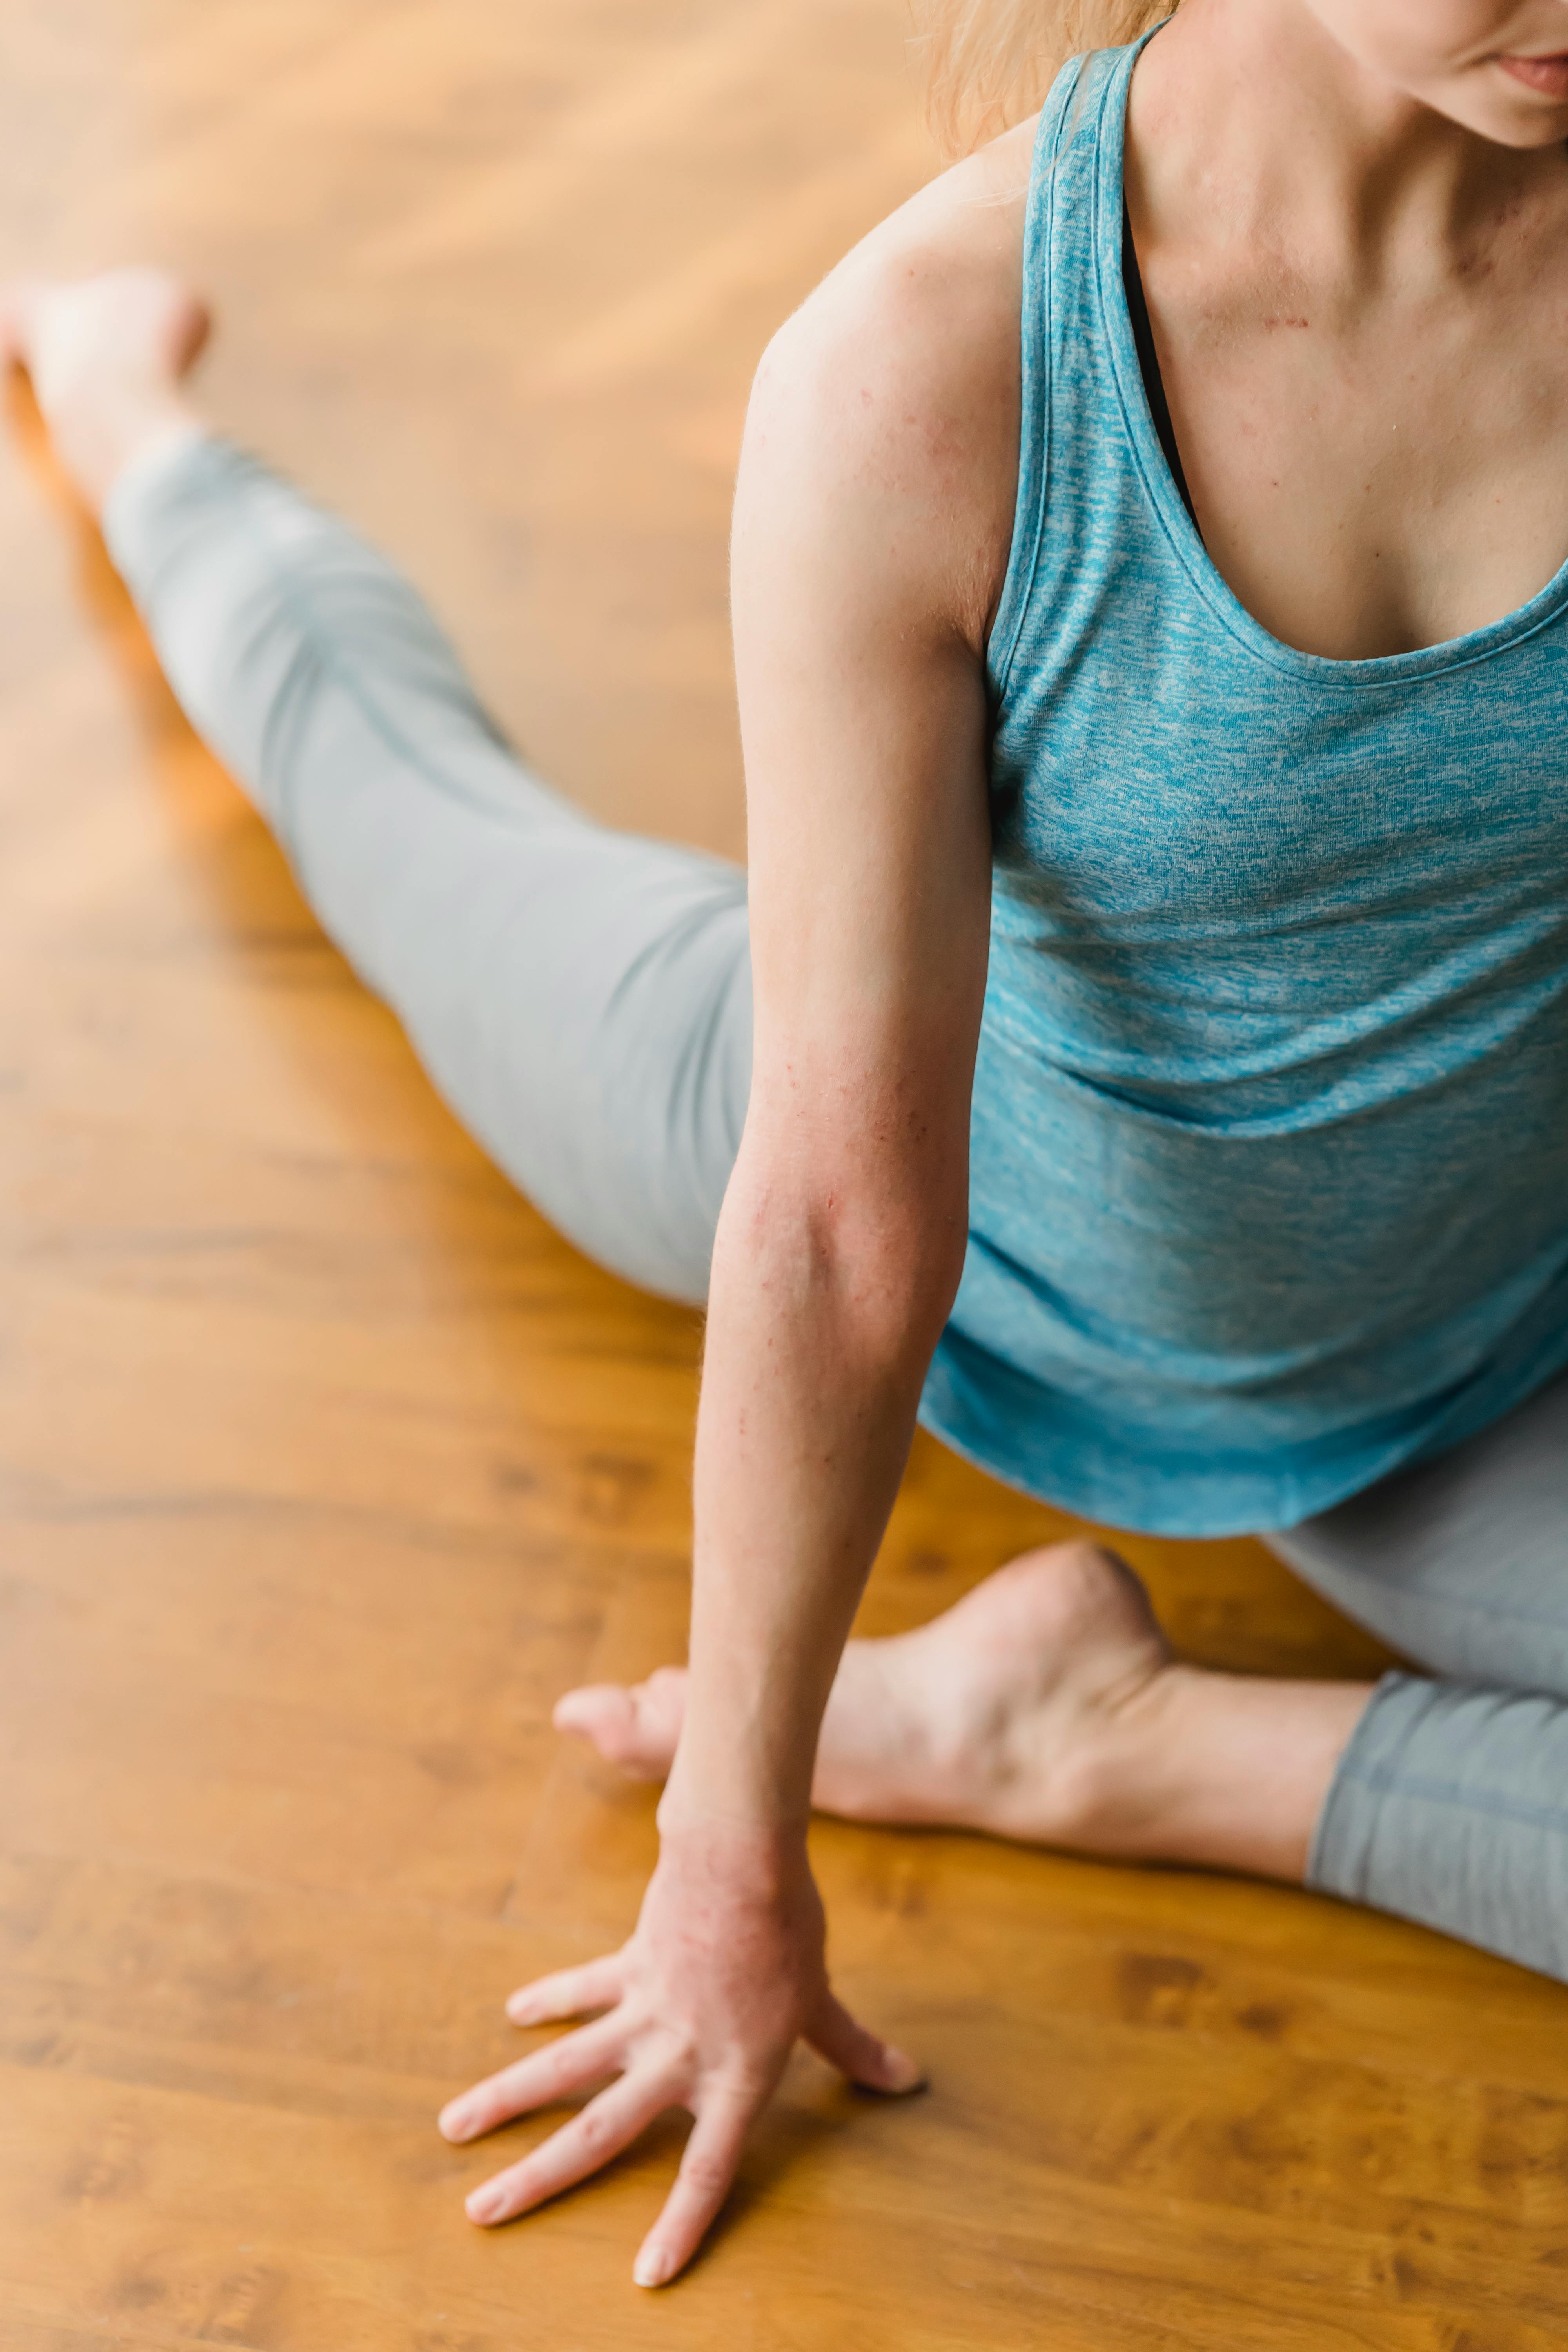
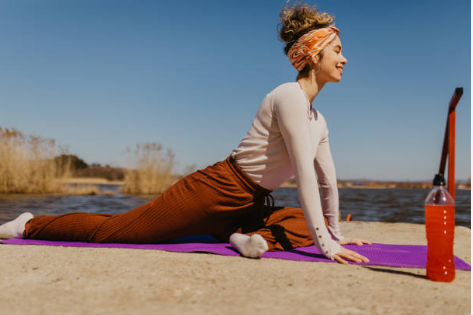
I am partial to start in down ward facing dog, lift and extend the leg into three leg dog, bend the raised knee as you scoop in the belly bringing the knee to the same side wrist. Keep the front knee bent to an angle that feels good in your body and keep the front foot active and engaged. The back leg stays long and in a neutral position. Be mindful not to let the back leg or foot roll in or out. As you inhale get length through your spine. You can stay here, begin to fold forward on the exhale or work towards the back bend.
You can also start from hands and knees and slide your knee up to your wrist and then slowly extend the back leg to straight. The other position to start in is seated. You can shift your weight onto what will be your front leg by rolling over that hip. Keep the front knee bent. As you are shifted over you will circle the other leg behind you. I find this transition to knee a few more adjustments to fully settle into the pose.
How long to hold Pigeon Pose
As with any stretch you want to hold for at least 30 seconds to effect the length tension relationship but due to the increased time for proper set up I recommend holding for at least a minute on each side.
Benefits of doing Pigeon Pose
There are many benefits to performing pigeon when done properly:
Improve muscle length, flexibility and eccentric control in your front leg, gluteal muscles (max, medius, and minimus) and of your deep hip rotators specifically your piriformis, obturator internus and superior and inferior gemellus
Improves length and flexibility of your back leg psoas and quadriceps (if knee bent in king pigeon)
Improves hip range of motion by taking the joints through a greater range than typically performed on a daily basis.
Improves pelvic floor stability and can ease tension in the pelvic floor by having the muscles of the pelvic floor work eccentrically during the pose and by improving muscle length in pelvic floor and deep rotator muscles.
Improved hip strength and range of motion can lead to improved balance, and decreased pain in knees, hips and back.
It can be an emotional release.
Common Mistakes When Doing Pigeon and How To Fix Them
Treating it as a completely passive pose. There should be activation throughout the legs during pigeon pose, even sleeping pigeon to improve alignment and reap all the benefits
Forcing the position of the front knee. You want to be intentional of the front knee position. Depending on the range of motion you have available the front knee might be able to be at 90 degrees with lower leg parallel to top of the mat. This will increase the external rotation of the hip, however if you do not have that range you can cause pain in the knee and or misalignment at the pelvis. Bending the front knee can make the pose more accessible.
This goes right along with the first two mistakes but you do not want to forget about the feet, primarily the front foot. You want to keep the front foot strong and active. If the front knee is towards 90 degress the foot should be dorsiflexed or in the “flexed” position. If your. knee is more bent with the foot towards your groin you want to planterflex or “point” your foot.
Forgetting about the back leg. Remember this pose isn’t completely passive. Keeping your back leg active and in a neutral position will help anchor and stabilize the pelvis. Your back leg should visually be in line with your hip, toes pointing straight back not rolling in or out.
Treating this pose as a sciatic nerve stretch. Note that in this position you could be causing compression of that nerve. Keeping this pose active by activating the hip rotators, squeezing the outer hips together to stabilize the pelvis can help with this, so can placing a block or blanket under pelvis on the front leg side. These modifications are also helpful if there is SI (sacroiliac) joint discomfort in this pose.
Compromising on any of the above to get to the “full expression” remember yoga is about mind-body connection and honoring where you are at and awareness that that can change from day to day. Always start by setting the foundation before moving forward with any additional variations.
Variations and Modifications for Pigeon Pose
There are numerous variations and modifications that can be made for pigeon pose so that it can feel good in every body.
Double Pigeon:
Seated with both legs in front of you, knees bent, top leg with knee stacked on bottom ankle and top ankle stacked on bottom knee. You can modify by placing a bolster or a bock between the top knee and bottom ankle
Supine Figure 4:
You will have more control over the depth of the pose and can truly be more passive here. Lying on your back
Classic Pigeon:
We talked about set up and getting into this pose already. In classic pigeon you remain upright, creating length in your spine. To modify you can adjust the position of the front knee. You can also place a towel roll or block under your hip of the front leg to keep your pelvis level.
Lying Pigeon:
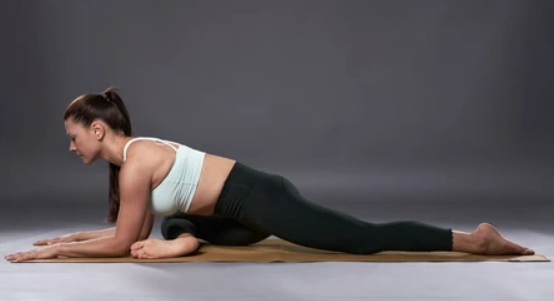
Instead of staying upright as in classic pigeon you being to fold forward over your front leg. Modifications are the same as classic pigeon. You can also place a block under your forehead here or stack fists onto of each other to rest your head if the floor feels far away.
One Leg King Pigeon:
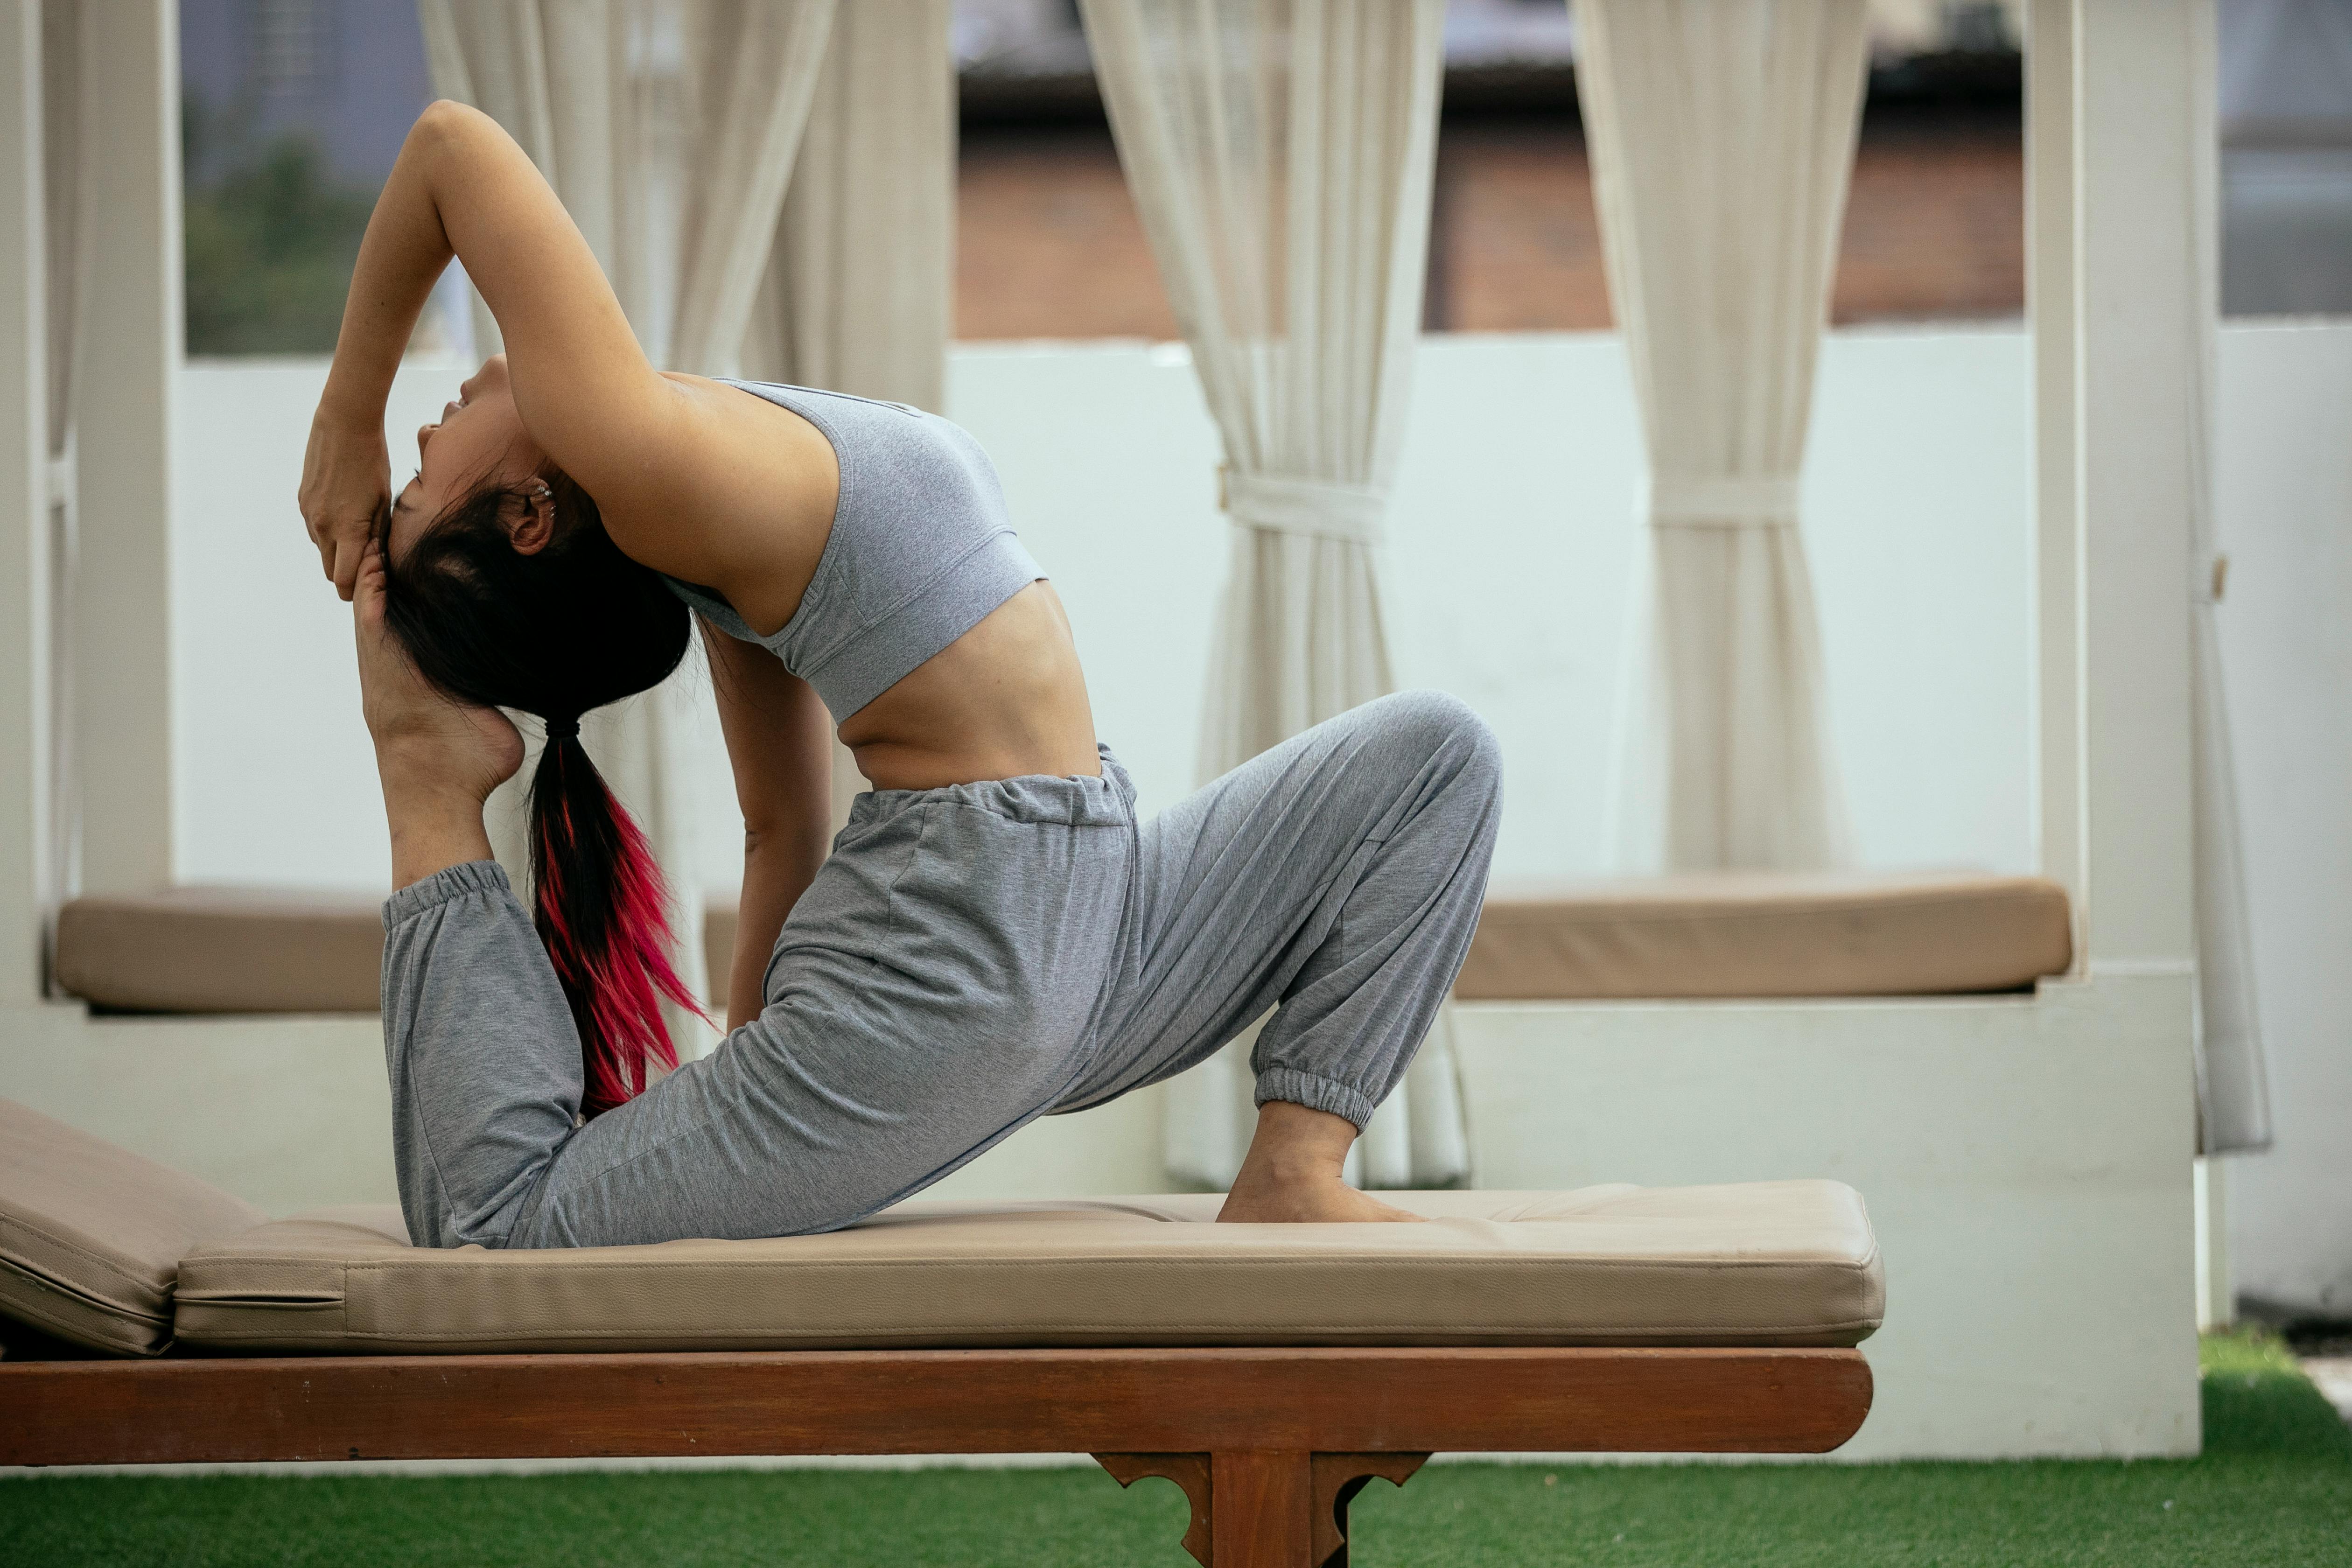
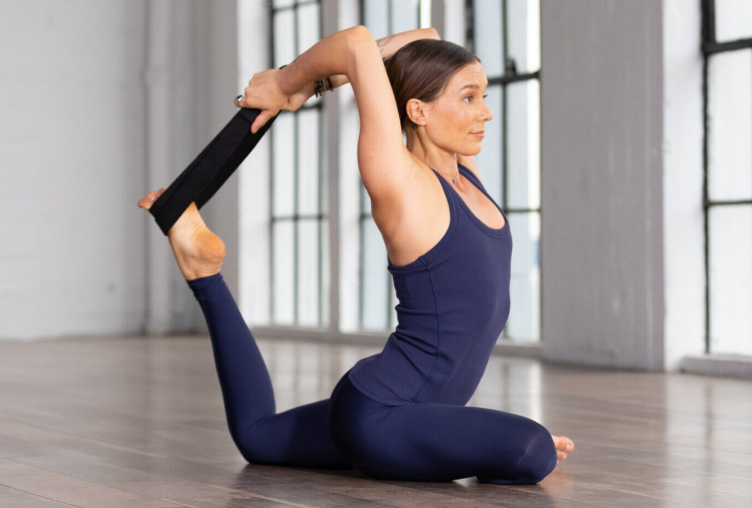
If you are modifying classic pigeon with a block under your hip stay in classic or lying pigeon for now. From classic pigeon begin to bend the back knee bringing your heel towards your spine. Reach back with an externally rotated shoulder (thumb up) to grab the foot or modify here by using a strap. If you have your foot with your hand you can begin to bring your arm overhead. Stay with one hand here or grip the foot with both hands. You can modify here with mermaid pose in which your back bent foot is resting in the elbow crease of your same side hand. Mermaid gives you the back leg quadricep and hip flexor stretch without as intense of a back bend or shoulder opening.
Additional variations that we will not get into here are revolved pigeon, flying pigeon, standing pigeon and so forth.
Pregnancy and Postpartum Considerations for Doing Pigeon
Props are your best friends during pregnancy and early postpartum. They allow you to get the benefit of the shape in ways that feel really good. Performing pigeon while seated over a bolster can be a really nice variation to try. If not fully on a bolster using a block or towel under your front hip is a good idea to keep your pelvis level.
Pregnancy Considerations
In the first trimester of pregnancy you can continue your practice without modifications. During the second and third trimester you will need to be a bit more mindful and consider more modifications. As you progress in your pregnancy you will want to avoid increased time on your back so skip supine figure 4. You also have more laxity in your joints throughout your pregnancy so want to keep all poses really active so you avoid just hanging on your ligaments.
Your body will let you know when certain things like back bends or folding forward need to be temporarily removed from your practice. I find that back bends and so king pigeon need to be modified or eliminated earlier in pregnancy close to the start of your second trimester (of course this might be feel different for you in your body.) You can continue to fold forward in pigeon as long as your belly isn’t in the way, a good way to modify here is with a bolster or stacked blocks in front of you.
Postpartum Considerations
Early postpartum you will still have a lot of ligament laxity so you don’t want to push into the poses with the goal of flexibility. Your laxity returns to baseline around 12 weeks but it can be longer if you are breastfeeding. Instead you want to keep the pose very active and engaged and have goals of stability in mind. Again using props at this time is very helpful. Early on during your first 6 weeks you can perform supine figure 4 and seated pigeon both of which will likely feel really good.
Pigeon Pose Recap
I absolutely love pigeon in any of its variations. I feel it should be added in most practices particularly because it is so far outside of the positions we are normally in throughout the day. When adding it in, I suggest having it towards the middle to end of the class or your flow this way you can ensure that your body is ready and warmed up for this pose.
I also suggest taking it slow. There are a lot of pieces to the pose so allow time for proper set up before settling into the pose. If you are brand new to pigeon or it has been uncomfortable for you in the past try a variation with props. Remember blocks, blankets and straps are always helpful. If you never tried pigeon maybe start out on your back (it is more forgiving in this position.) Go from there. As always make sure you can keep your breath even and consistent throughout the pose. While it might feel uncomfortable to sit here there should not be sharp pains. Your body is the ultimate teacher so learn to listen and adjust accordingly.
Thank you for sharing!
Struggling with postpartum pelvic pain, leaks, or discomfort? Download your FREE Postpartum Pelvic Recovery Guide and learn simple, expert-backed strategies to heal, strengthen, and feel like yourself again. Because your recovery matters—let’s take care down there!
